04/09/2024 17:07:49
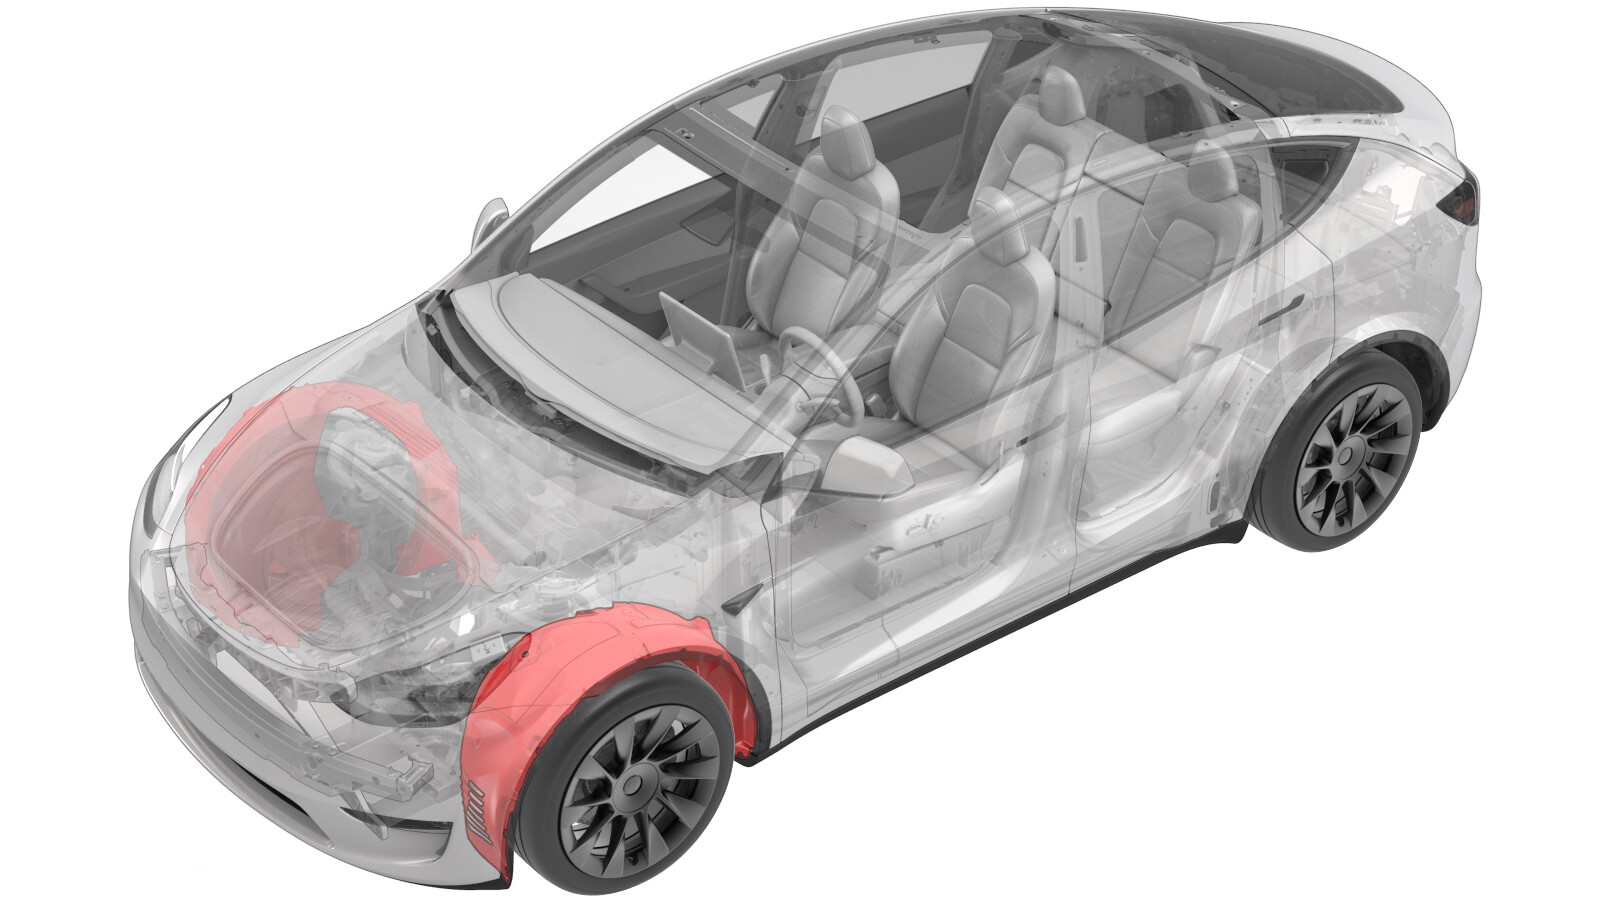
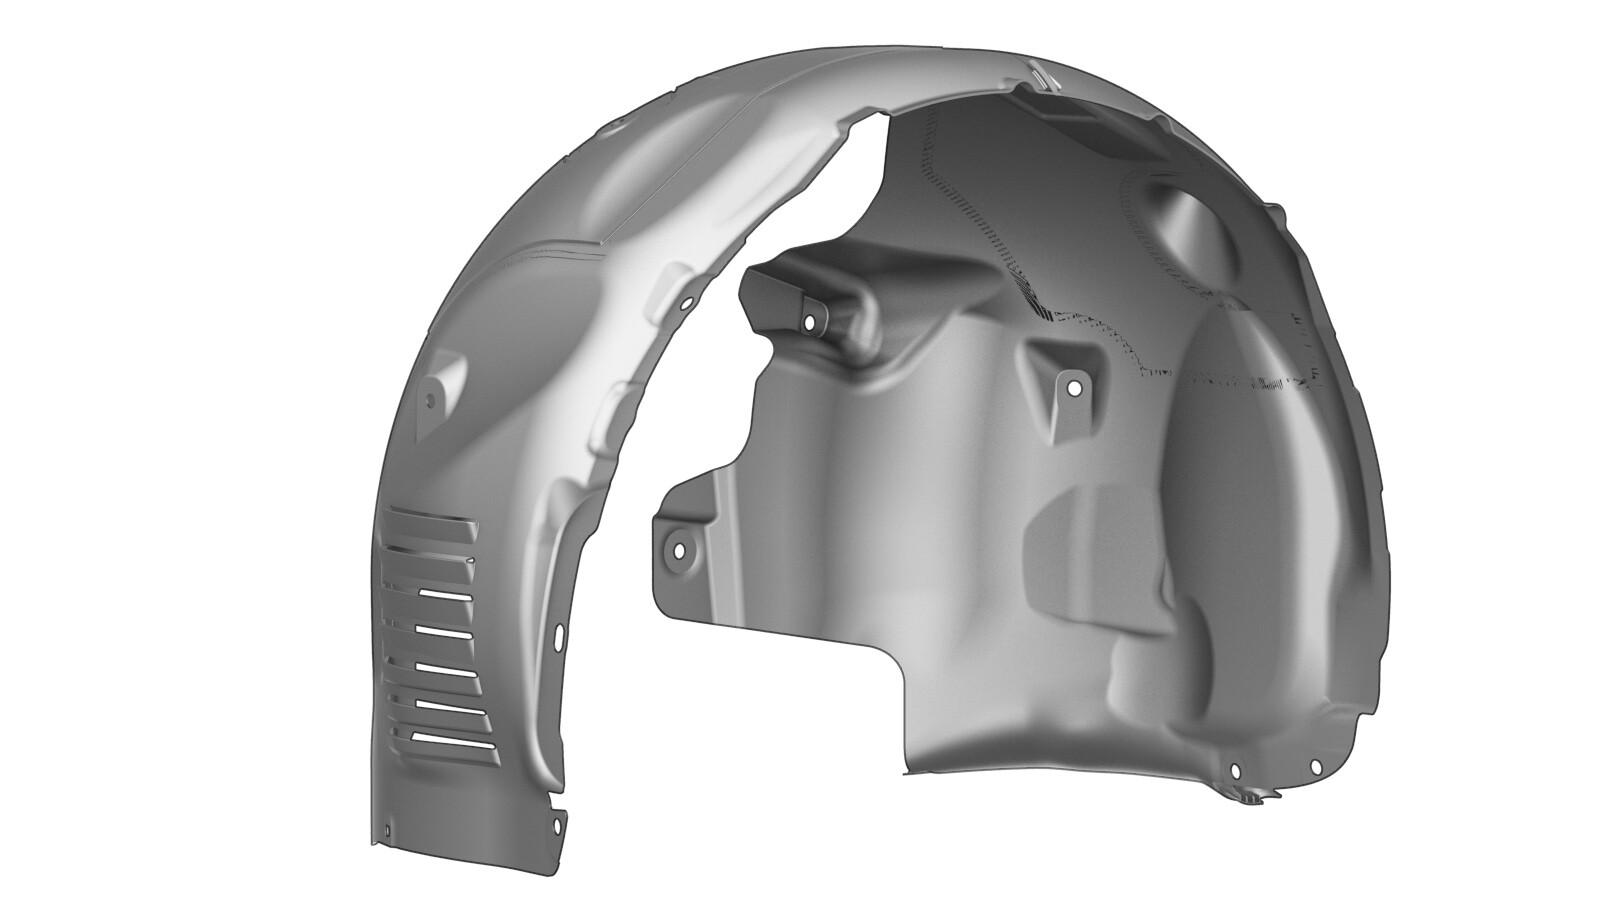
Wheel Arch Liner - Front - LH (Non-Structural Pack) (Remove and Replace)
Correction code
12010902
0.42
NOTE: Unless otherwise explicitly stated in the procedure, the above correction code and FRT reflect all of the work required to perform this procedure, including the linked procedures. Do not stack correction codes unless explicitly told to do so.NOTE: See Flat Rate Times to learn more about FRTs and how they are created. To provide feedback on FRT values, email LaborTimeFeedback@tesla.com. NOTE: See Personal Protection to make sure wearing proper PPE when performing the below procedure.
- 2023-06-29: Added the whole procedure video as an overview for supplemental purposes only.
- 1133569-00-A Pliers, Clip Removal
Warning
The video(s)
included in this procedure are meant as an overview for supplemental purposes only.
Follow all of the steps listed in the procedure to avoid damage to components and/or
personal
injury.
Torque Specifications
| Description | Torque Value | Recommended Tools | Reuse/Replace | Notes |
|---|---|---|---|---|
| Bolt that attaches the LH front wheel liner to the HV battery |
 5 Nm (3.7 lbs-ft) |
|
Reuse |
Remove
- Remove the LH front wheel. See Wheel Assembly (Remove and Install).
- Remove the front aero shield panel. See Panel - Aero Shield - Front (Non-Structural Pack) (Remove and Replace).
-
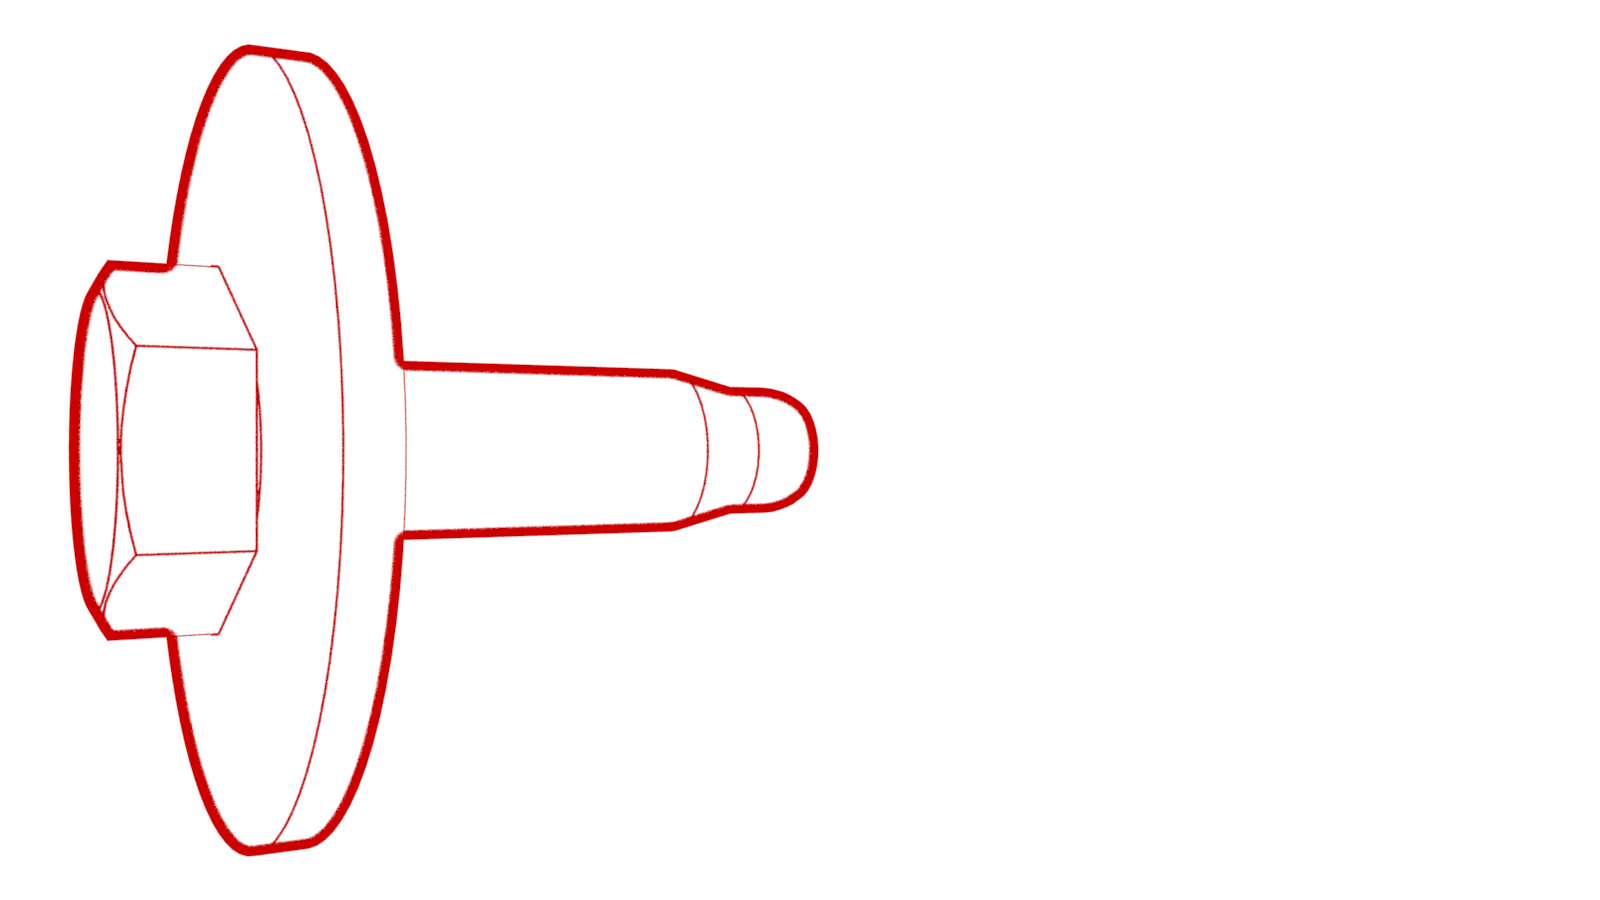
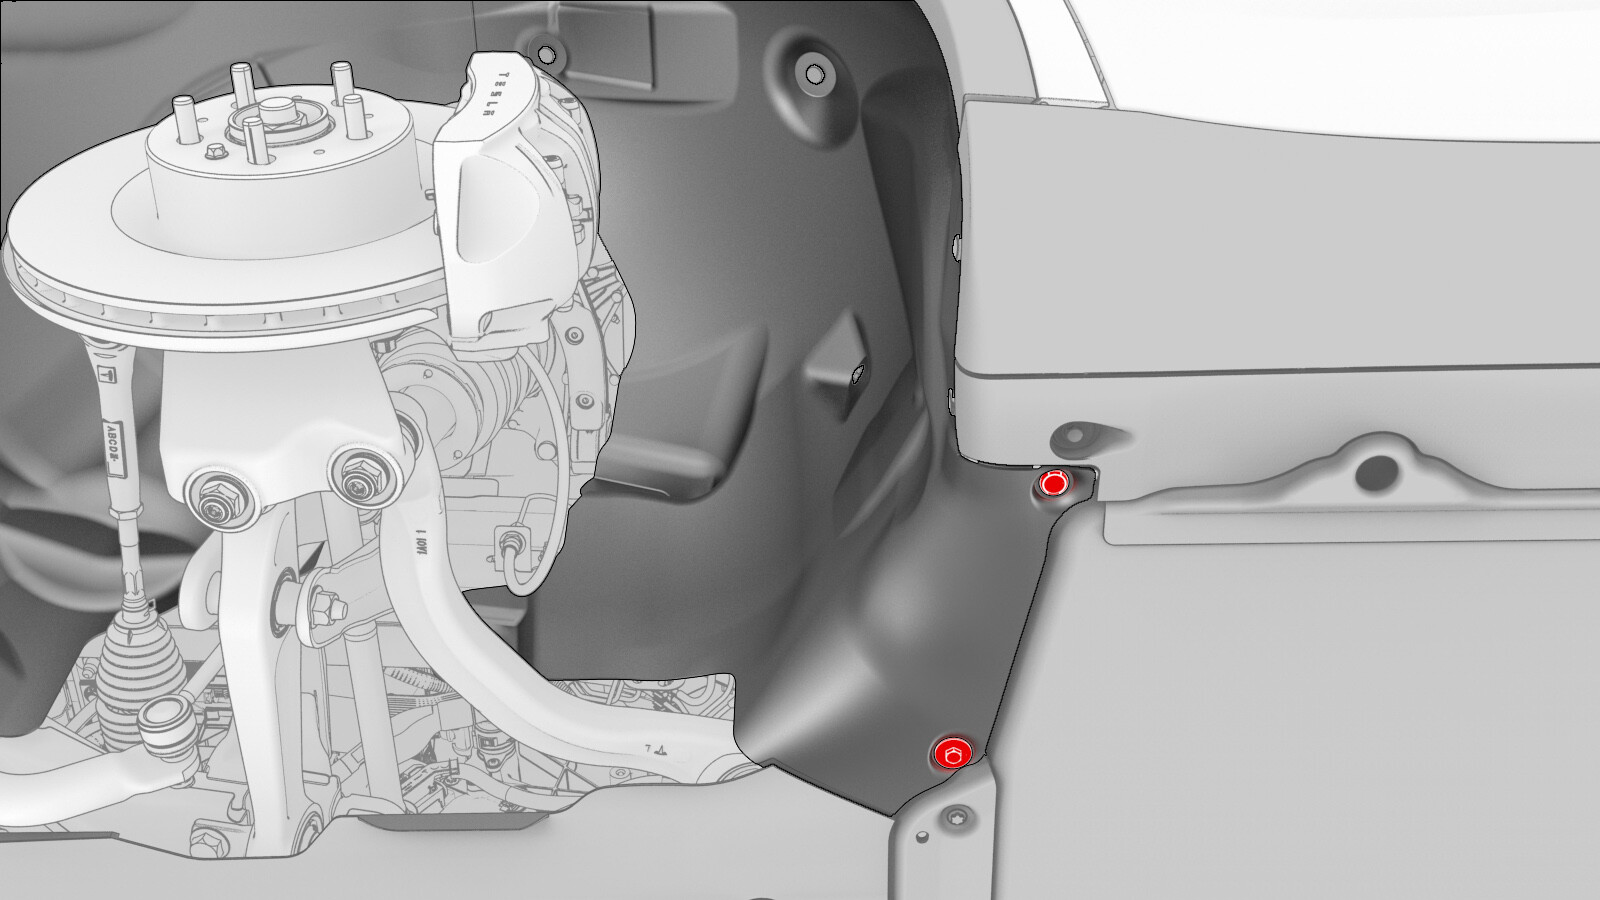
Remove the bolt and clip
that attaches the LH front wheel liner to the HV battery.5 Nm (3.7 lbs-ft)NoteUse of the following tool(s) is recommended:
- 10 mm socket
- 4 in extension
- Remove the LH front fender garnish. Garnish - Fender - Front - LH (Remove and Replace).
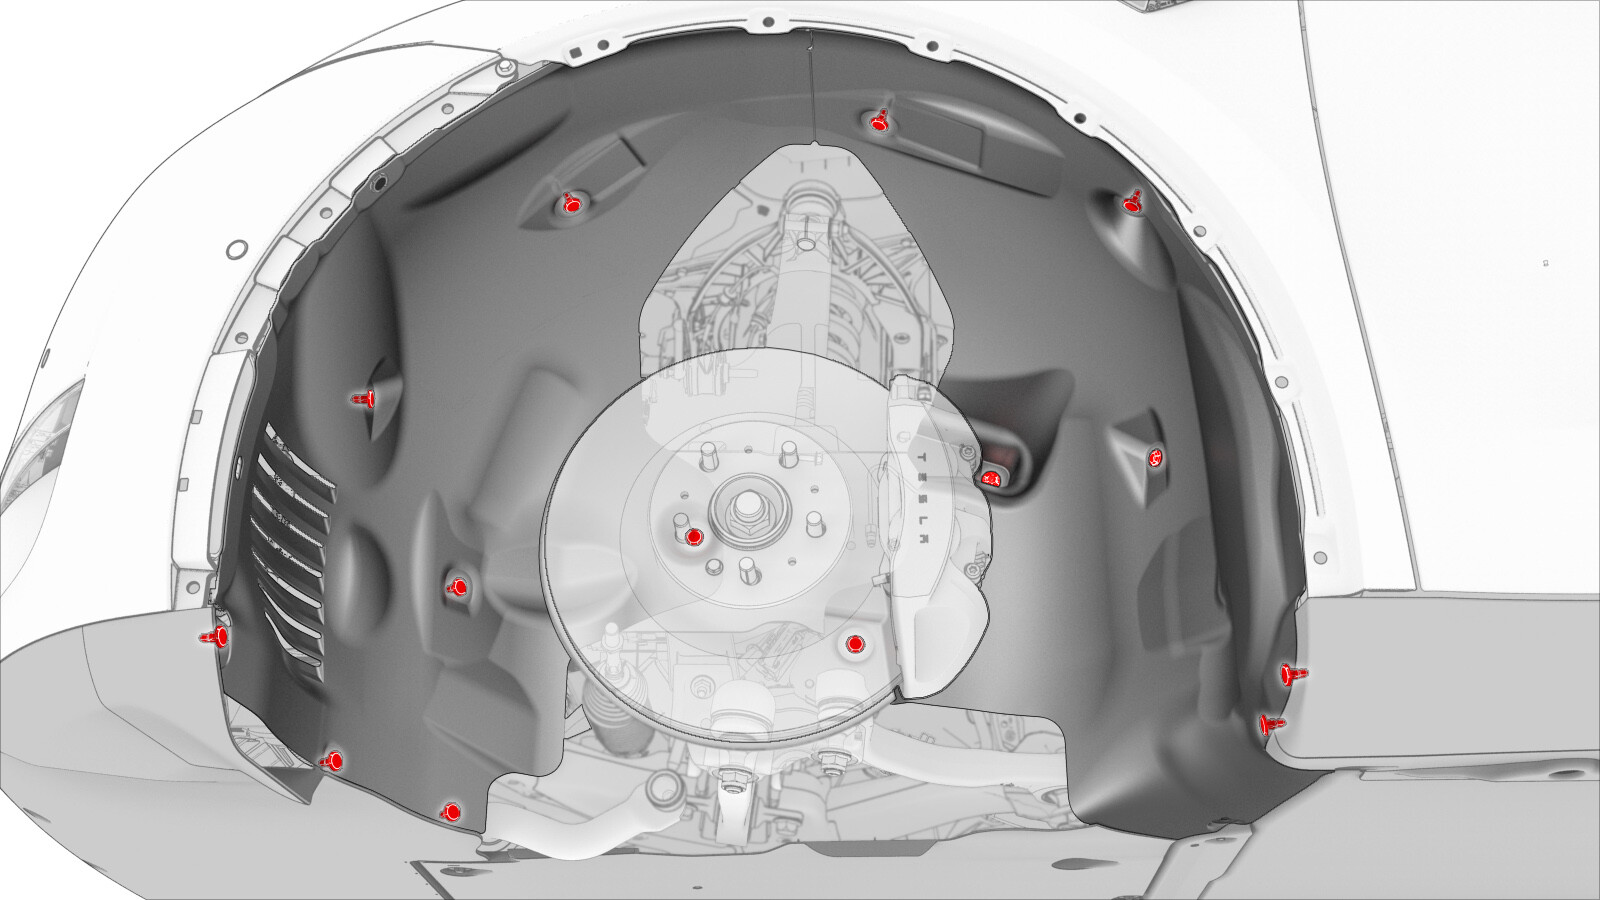
-
Release the clips (x14) that attach the LH front wheel
arch liner to the vehicle, and then remove the liner from the vehicle.
Install
Installation procedure is the reverse of removal.